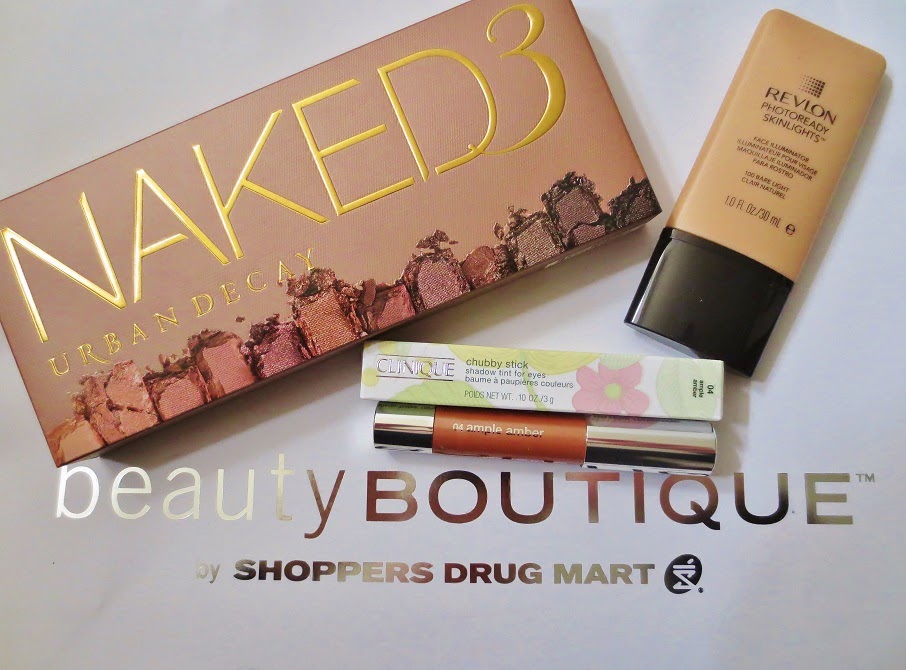
Hi, everybody! Hope you're all having a wonderful weekend! If you've been checking out the blog lately, you'll know that I've been having a heyday with my brand spankin' new Urban Decay Naked 3 Palette. I'd been waiting patiently to snag it, then finally picked it up for free (free!), thanks to my wealthy stash of Shoppers Drug Mart Optimum Points. Makeup win! Earlier this week, I brought you my first two looks using the palette (check them out here and here) and now it's time for the third and final installment! Today's look is all about the plummy matte shades in the palette.
Since I very rarely play with matte tones (I'm a shimmer addict!), I thought I'd pair this eye look with some of my favourite matte cheek and lip products. I opted for a warm pinky blush with a barely-there glow (NYX Powder Blush in Mauve) and a candy pink lip, courtesy of Revlon ColourBurst Matte Balm in Elusive. I hadn't been using that lip pencil nearly often enough and thought it would work perfectly here!
To prevent the entire makeup look from looking too flat, I chose a more sheer, semi-matte foundation to keep the skin looking natural, rather than cakey. I achieved this using Chanel's new Perfection Lumiere Velvet foundation. Yes, I caved and bought it- and I'm so glad I did! It dries to a powdery finish without looking or feeling heavy and it offers decent coverage while still letting skin shine through. Very happy with it- but I'll save the review for another time!


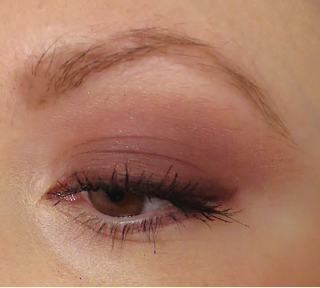
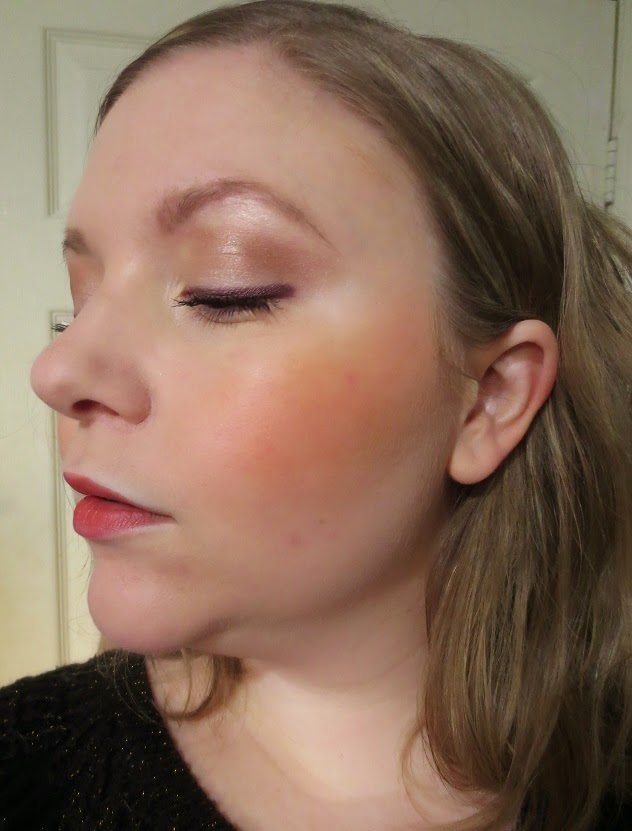
As I mentioned, the eye look utilized the amazing matte shades from Naked 3. I first applied Nooner (a matte, smokey plummy brown) all over my lid, concentrating it near the lash lines and blending upwards. I next washed some of Limit (a matte dusty rose) in the crease to add some warmth and transition from the darker lid shade. I then lightened the look further, applying some of Strange (a matte ivory) to the brow bones and inner corners of the eye. To add a bit more smoke, I smudged some of Darkside (a nearly-matte purple-tinged grey) along my upper lash lines and to the outer half of the lower lash line. For further definition, I applied Clinique Quickliner For Eyes in Black Honey messily along my upper lash line and finished with two coats of the extremely pluming d.j.v. Beautinizer Volume Lash Mascara.
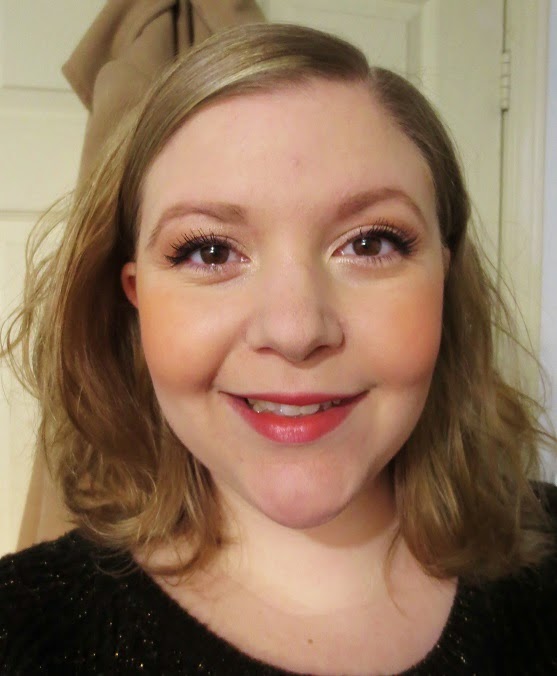
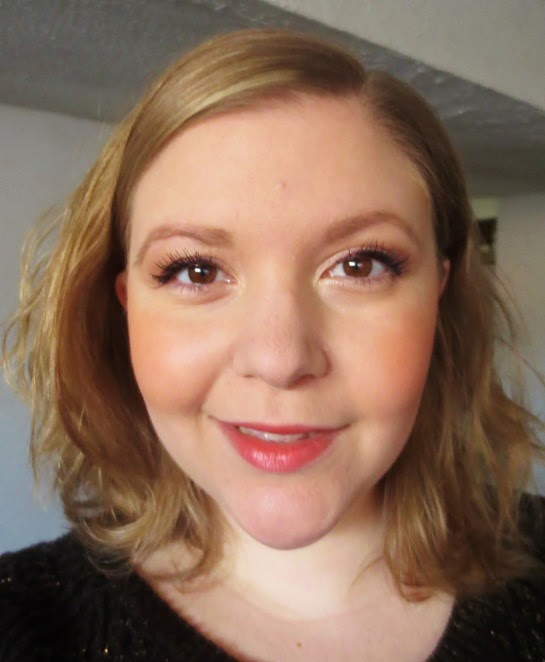
Here's the end result!
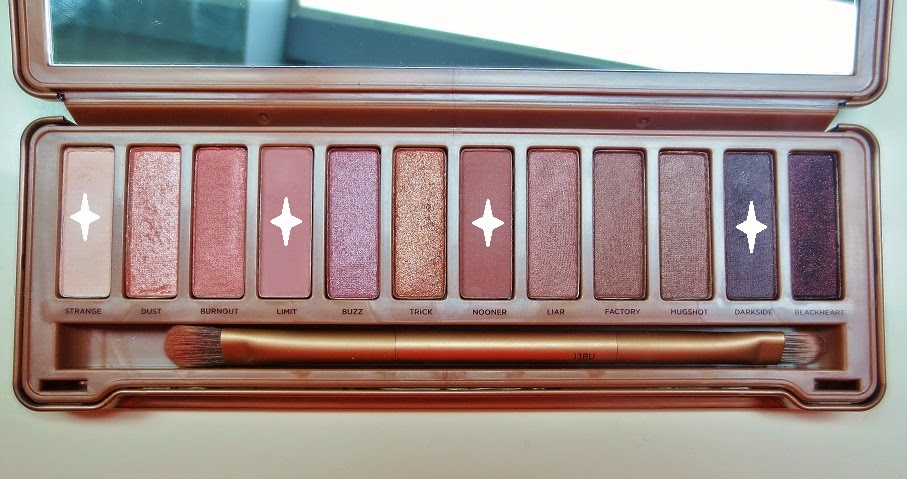
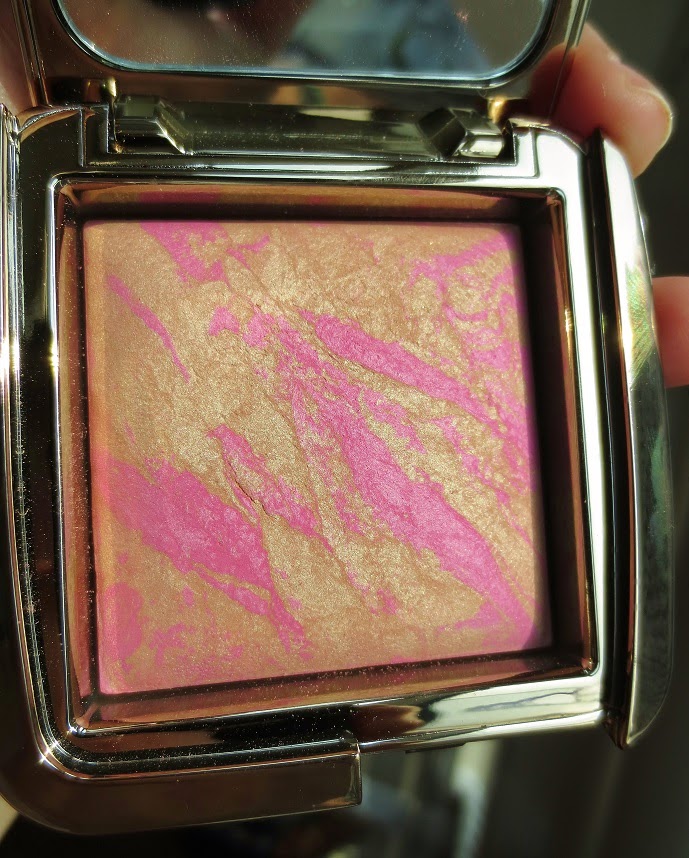
And here's a picture of the palette, showing off what shades went into this look:
And for a full breakdown of everything I used!
Foundation Primer: Laura Mercier Oil-Free Foundation Primer
Foundation: Chanel Perfection Lumiere Velvet in Shade 10 Beige
Concealer: BeneFit Fake-Up in Light (under eyes) and MAC Select Cover-Up in NC20 (on blemishes and redness)
Powder: MAC Blot Powder in Medium
Contour: Kevin Aucoin The Sculpting Powder in Medium
Blush: NYX Powder Blush in Mauve
Brows: Anastasia Brow Powder Duo in Taupe and Anastasia Tinted Brow Gel in Caramel
Eye Primer: Urban Decay Primer Potion in Original
Eye Shadow: (all from Naked 3) Nooner (applied all over the lid, up to the crease), Limit (applied in the crease, blended into Nooner and upwards), Strange (on the brow bones and inner corners of the eyes) and Darkside (smudged into the upper lash lines and the outer halves of the lower lash lines)
Eyeliner: Clinique Quickliner for Eyes in Black Honey (on upper lash line) and NYX Wonder Pencil in Light (on lower waterlines)Mascara: d.j.v. Beautinizer Volume Lash
Lipstick: Revlon ColourBurst Matte Balm in Elusive
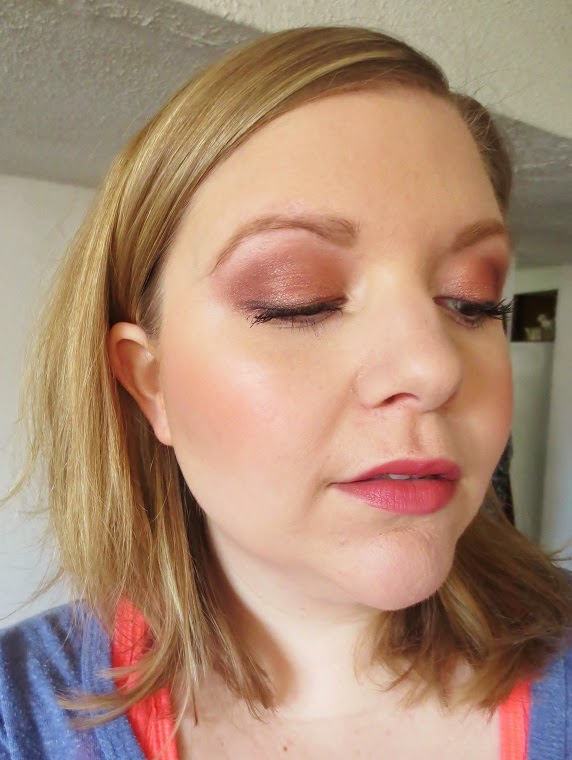
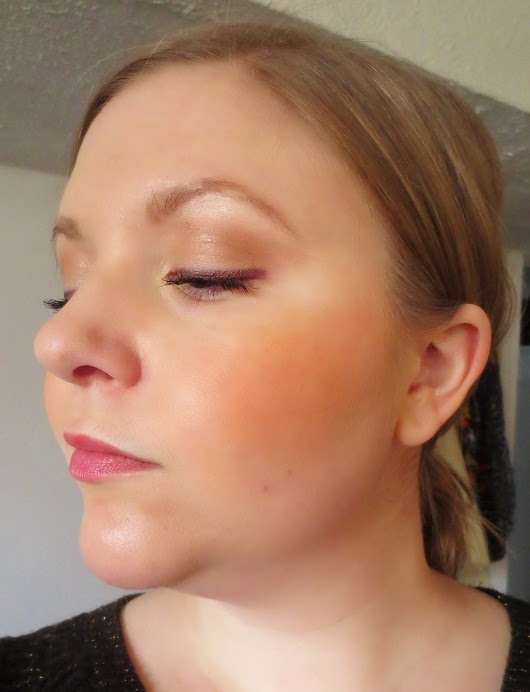
And a few more shots of the look:
Overall, this was the Naked 3 look that I was most pleasantly surprised with. I don't reach for matte tones often, so was expecting to be a bit underwhelmed when delving into shades like Nooner and Limit. Boy, was I wrong! The result was smokey matte goodness that I found to be quite flattering with my brown eyes. I can definitely see myself reaching for these shades often! And I will do my best to not discriminate against matte shadows in the future ;)
I hope you all enjoyed my Naked 3 Look of the Day series. I had so much fun experimenting with this palette! Would love to hear your feedback about which of my looks was your favourite and about what Naked 3 shade combinations are your faves!
Thanks for reading! :)